After the 2013 LinuxCNC Fest in Wichita, I got excited about 3D printing. Also, I wanted access to a machine with nontrivial kinematics. After investigating the options, I chose the Rostock MAX. It's a commercial design that uses "cheapskate" rails and consists mostly of laser-cut wood parts.
Status: Electronics won't talk to laptop. Useful as oversize doorstop.
Why I chose Rostock Max
My main considerations in choosing the RM were: delta kinematics and the ability to buy a complete kit. I preferred not to have to source the non-printed parts independently. If you feel differently, then you could probably save money by e.g., buying printed Kossel parts and finishing out the BOM on your own. But these two requirements basically limited the field to the RM.
Order and delivery
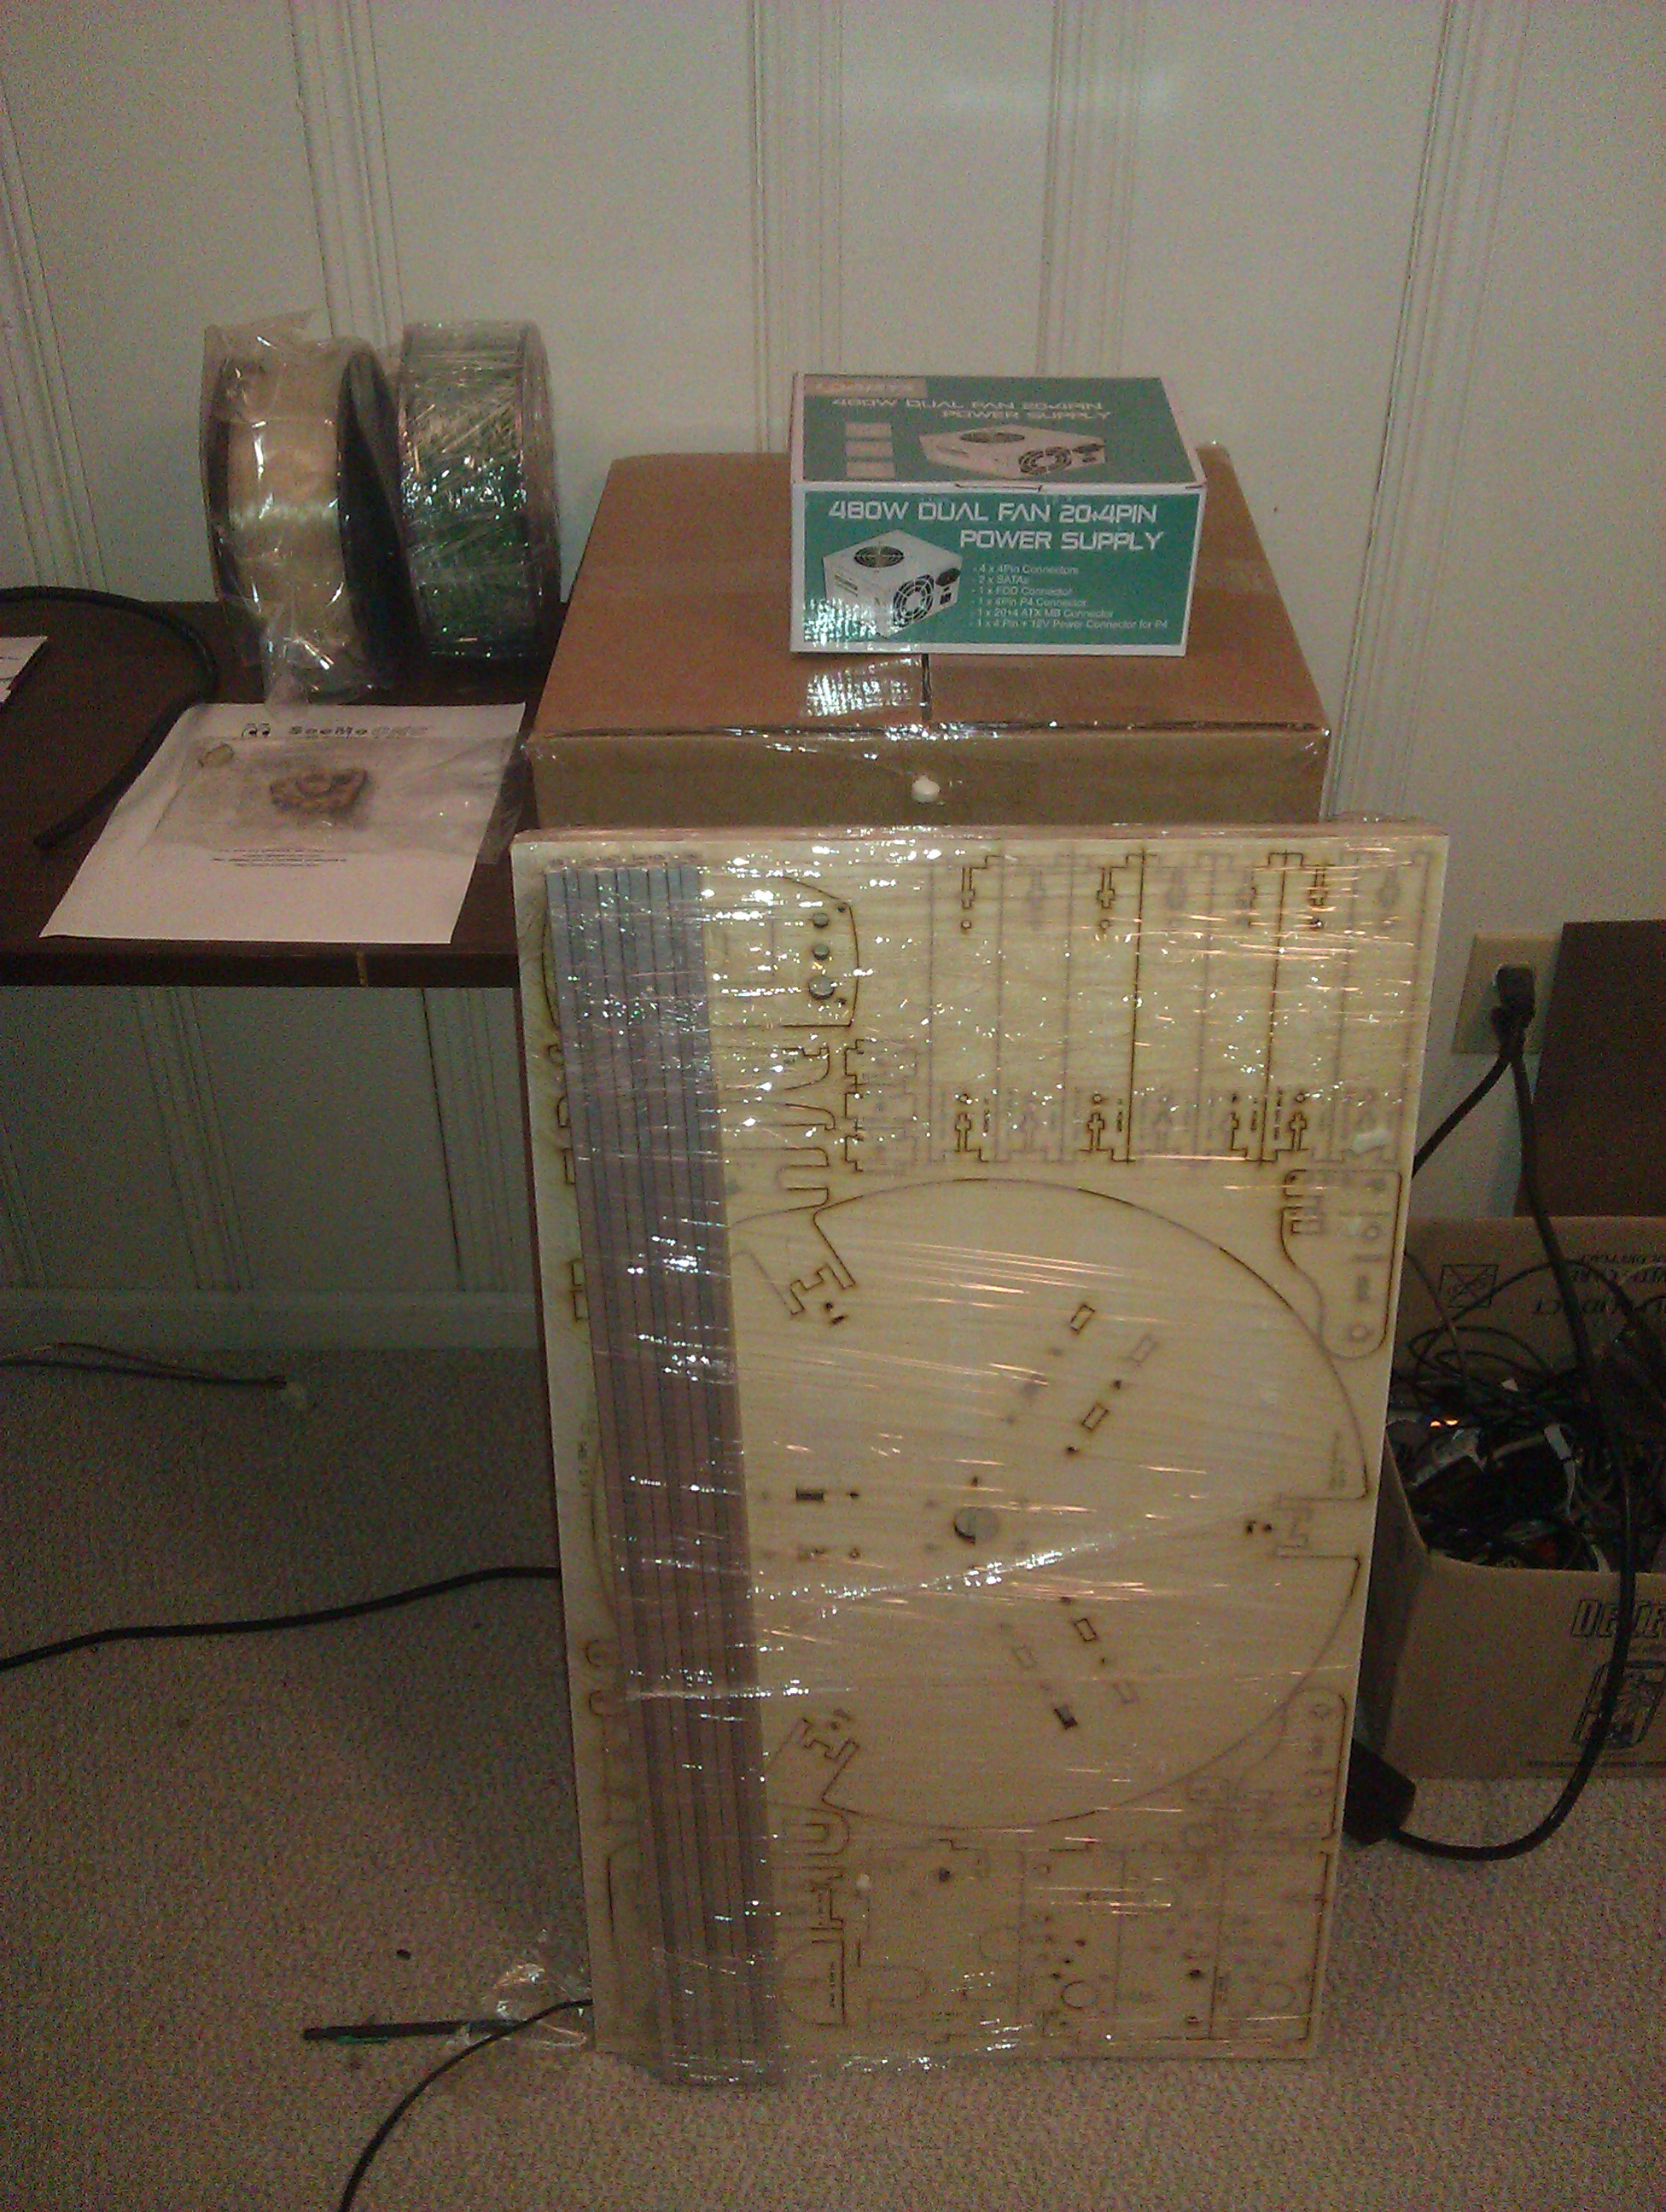
I ordered on 9 July 2013 and received a big box on 12 July 2013. This was a big surprise, because at the time the RM web page said that there was a 3-5 day lead time. Instead, they shipped the next day, and they're close enough to me that UPS ground shipping (the cheapest option at about $35) was 2-day delivery. It's a pleasant surprise, because I was eager to get working on this new project.
Build process
After unpacking, it's necessary to break out all the laser-cut wood pieces and then remove a protective cover from both sides. This process went smoothly, but it took about 2 person-hours (Ingrid helped for 20 minutes or so). The parts seem well cut (only one cut was not complete). In the cleanup process I only damaged the white finish (melamine?) in a few small places. The laser cut wood smells like a campfire, and when I was done my hands were covered with soot and my pants had not escaped without some smudges too.
Later, Chris came over and we worked for about 2 1/2 hours to get the base assembled and the cheapskate extrusions installed.
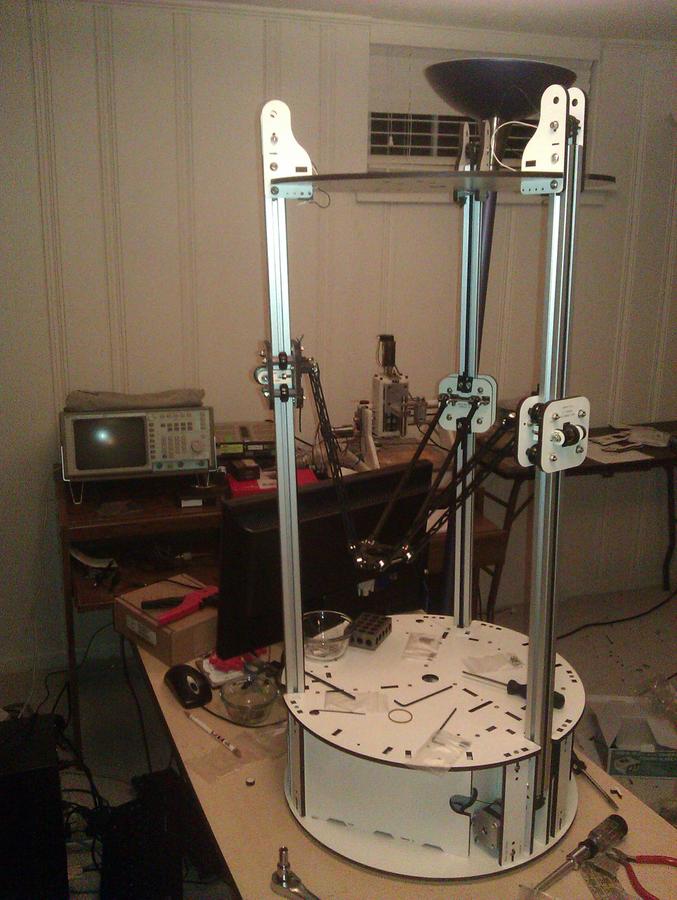
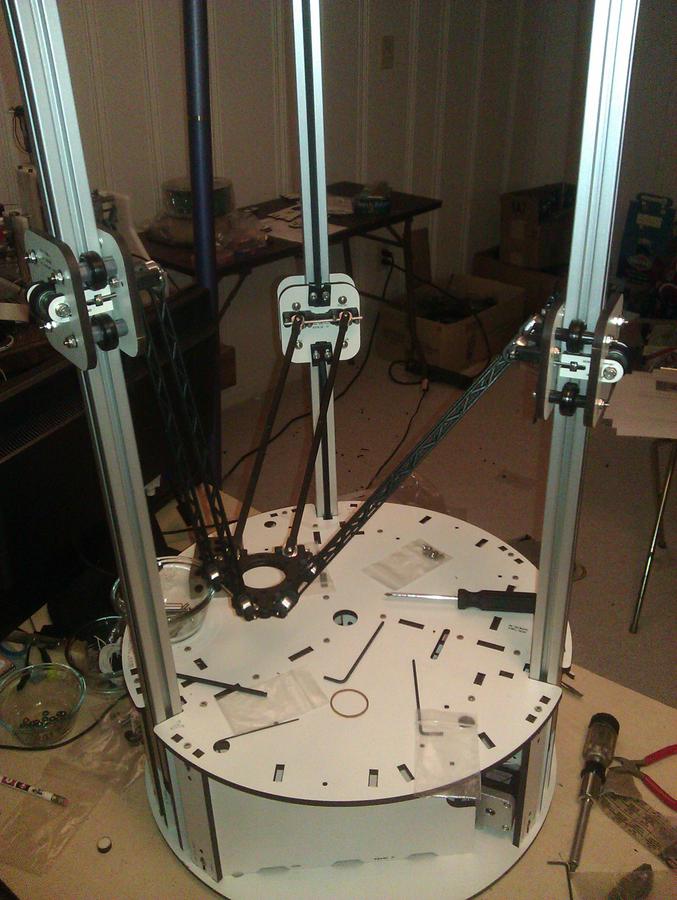
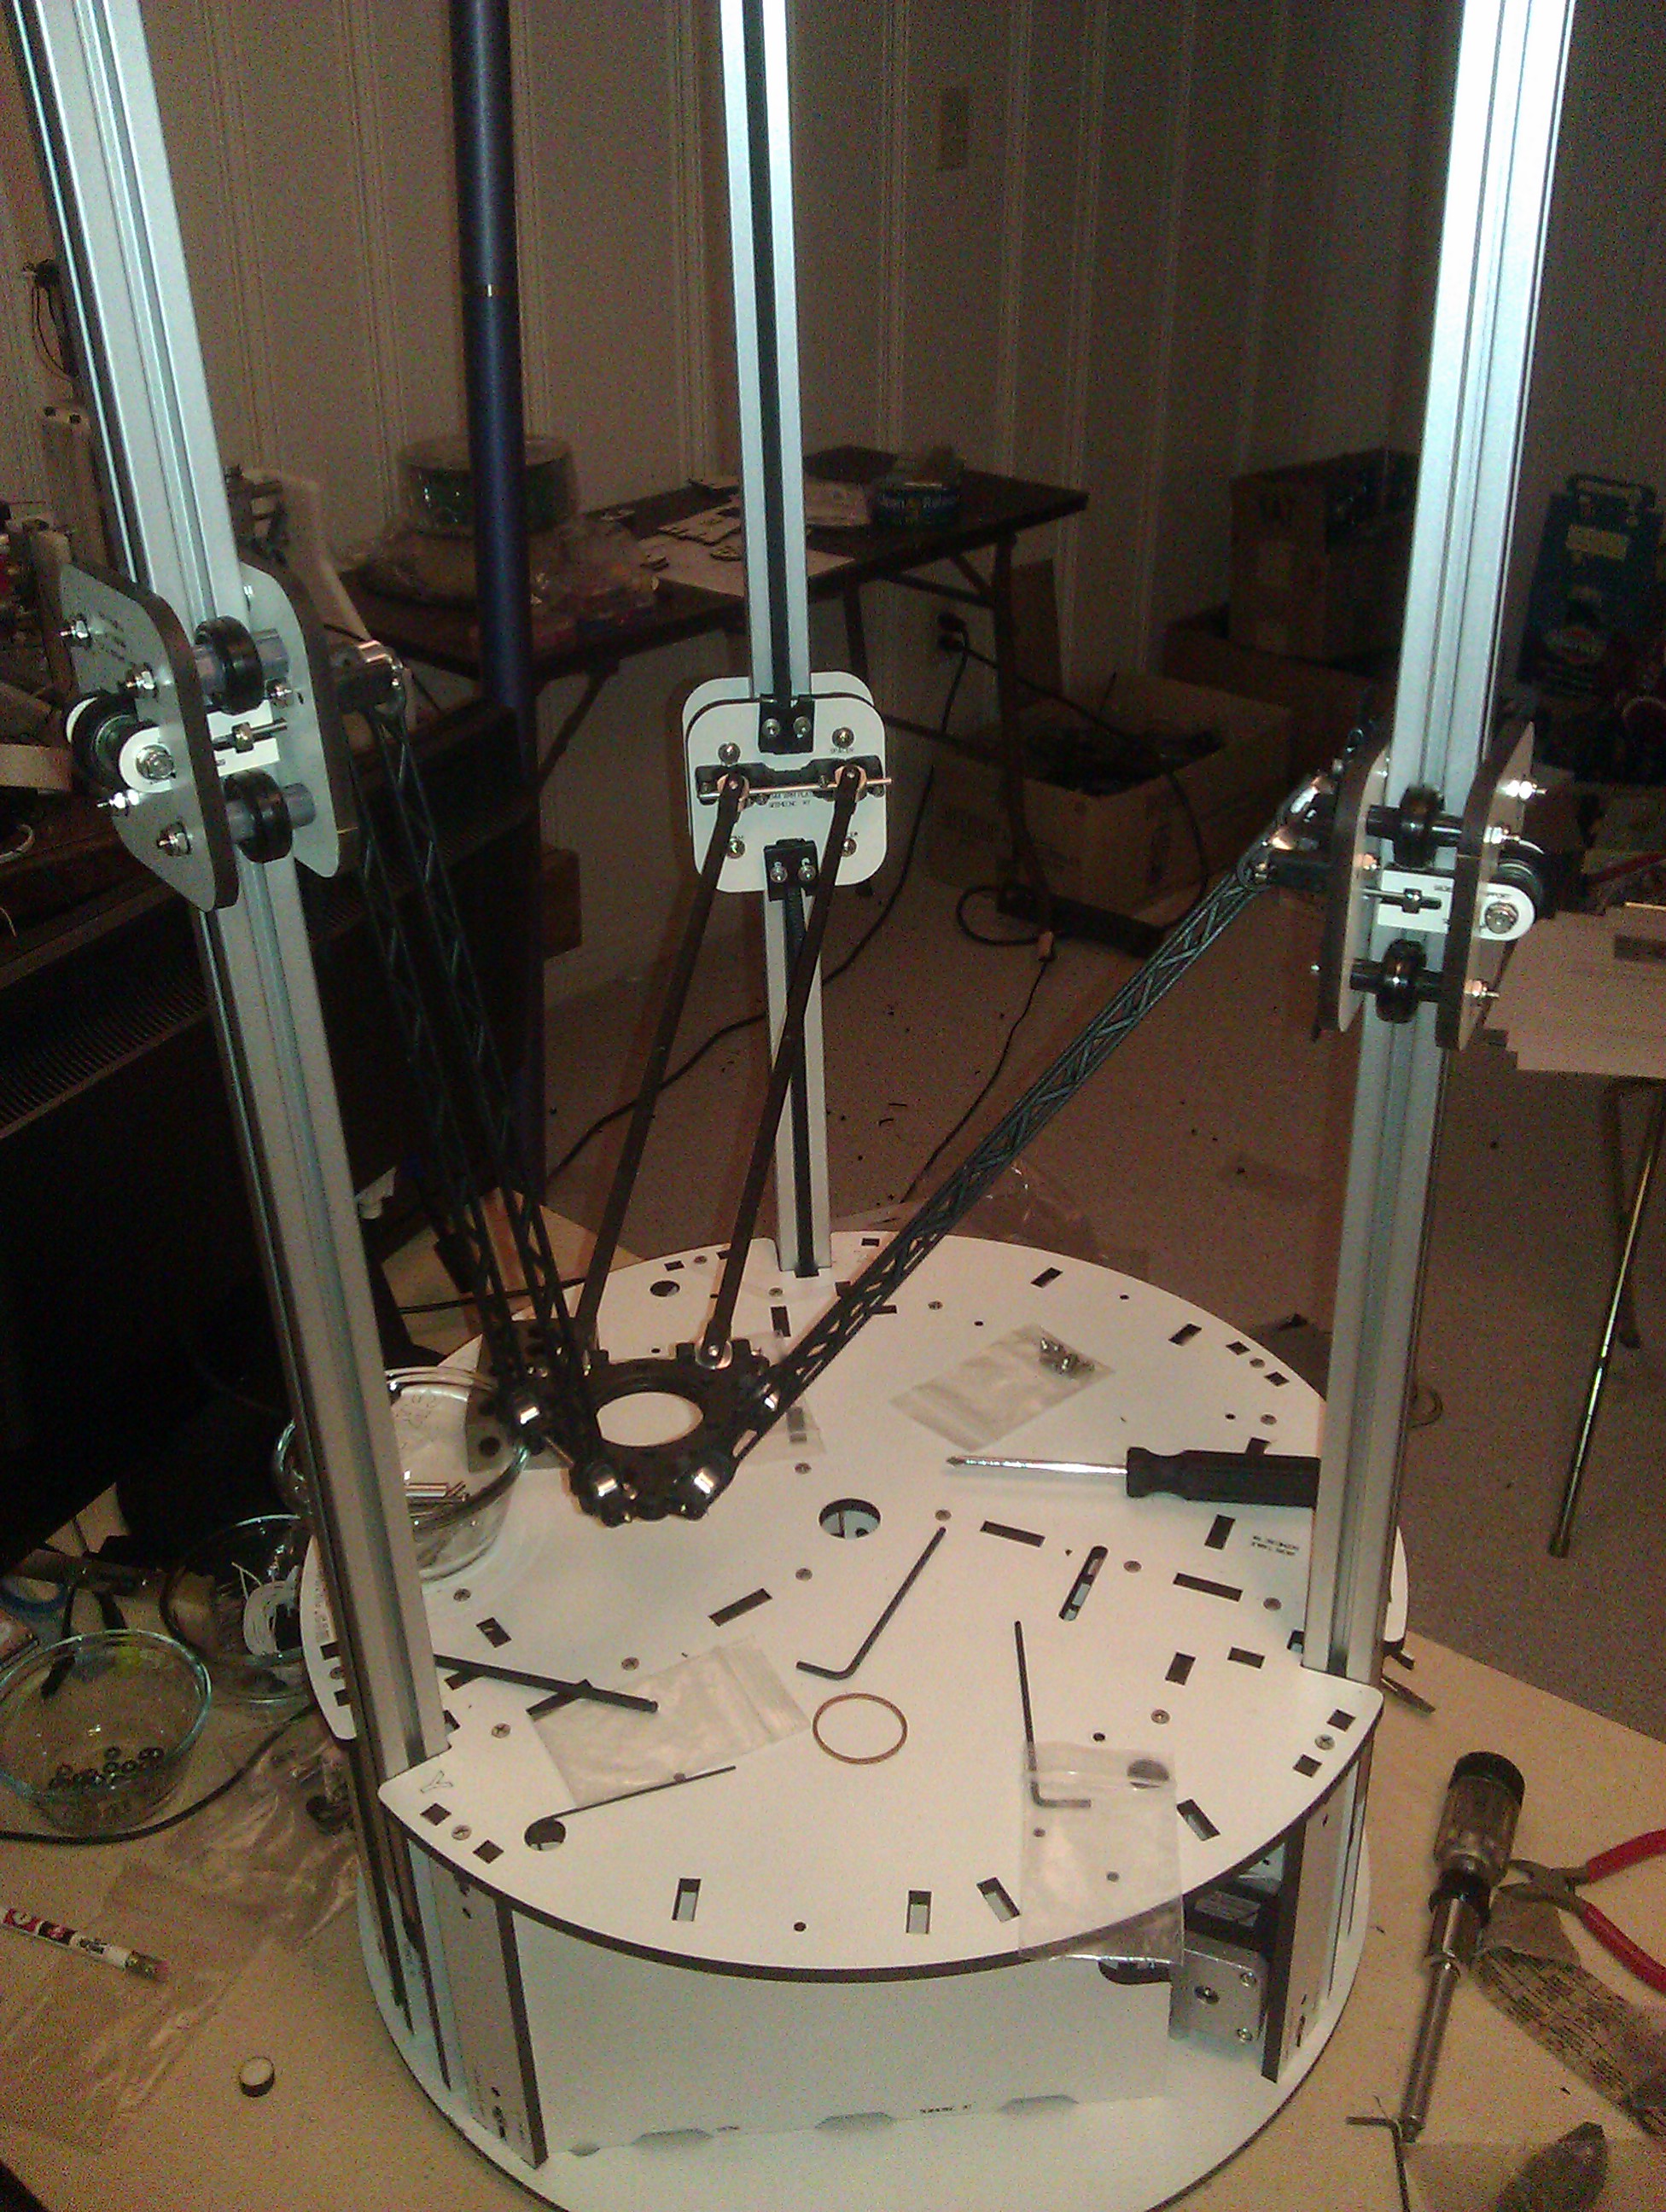
The next morning, I started work on the top plate but stopped when I found I was expected to destroy a yardstick to create a device that would allow me to get the top idler brackets all the same distance from the bottom plate. Once I found a yardstick, though, I found a way that I thought I could get a consistent measurement without destroying it. I also go the top assembly put together, including home switches.
Next is the part that everyone agrees is terrible: sanding the U-joint parts until they move freely. I did one carriage-side by hand, then went to Kerry's shop and did the rest with a power tool. We found that it helped to ream out the holes on the arms to get freer movement.
I made some mistakes assembling the carriages. Mainly, I installed them upside down the first time. (note: the *inside* text should be right side up; the *outside* text will be upside down)
I also installed the u-bearing mounts wrong (screw on the opposite side from the switch, so you could also say I installed the home switches wrong). But I did finally get them all installed properly, and have one belt installed and tensioned. At least without the platform attached, the motor has enough holding torque that the carriage does not fall, which is good. (time: 4 hours)
On Sunday I lost some time because I had initally used the wrong screws to retain the u-joint axles at the carriage end. Oops. Incidentally, if these screws are not tight then there is a lot of backlash in the carriage, so it's very important.
I also was having trouble adjusting the eccentric cams, which got much better after loosening the screw that went through them. I feel like I now have all 3 carriages pretty well adjusted.
I wanted to see it move, so once I fixed the delta arm mounting I skipped around and "installed" the power supply and RAMBo board. I also had to get the rostockmax rambo firmware to build on Debian Wheezy (new gcc is picky about some things, and new avr-libc deprecated some things). But it does coordinated moves at f6500 without stuttering (300mm/s or f18000 is claimed; I haven't pushed it yet).
Chris came over and we worked through assembling the "EZStruder" and spool holder. This didn't match the documentation at all, and we're still not sure of a good way to route the wires. There doesn't seem to be enough space down the extrusions, so I guess the wires will just be in the air :-/. We postponed doing that wiring because it will run next to the hot-end wiring.
Last night, Chris did the delicate (and not so delicate) soldering of the hot end, which is presently curing in his basement.
Chris also milled me an excellent dial indicator mount, which should help when it comes time to calibrate the end stops and flatness, since I'll be able to read the number right off the dial instead of doing a paper-grabbing test as suggested in the docs. I did a little work getting the end-stops better, and at the moment I have the end stops within ±.011" (.28mm) and a virtual table convexity of about .021" (.53mm), though these measurements were taken without the table properly mounted. I haven't touched the compile-time number which corrects virtual table convexity/concavity yet, but that should be easier than the end-stop adjustment which is fiddly and physical.
(I looked a bit into adding home offsets for joints in RepetierMAX but didn't yet achieve positive results. Being able to enter the offsets into EEPROM would be preferable to adjusting screws that serve as home-switch actuators!)
Time so far: about 25 person-hours to get through almost everything through step 17 (out of 20). I should be able to finish calibration and make my first print this weekend, knock on wood.
An initial promising result
I have gotten one print out of the Rostock MAX, the cube-with-holes suggested in the assembly manual.Everything comes crashing down
On my next print either my head clogged or my extruder motor started skipping. Later, after I disassembled and reassembled the hot end, my RAMBo board stopped enumerating as a USB device (something which I can't believe is related):usb 1-1: new full-speed USB device number 55 using xhci_hcd usb 1-1: Device not responding to set address. usb 1-1: Device not responding to set address. usb 1-1: device not accepting address 55, error -71 hub 1-0:1.0: unable to enumerate USB device on port 1On the advice of #reprap I reprogrammed the 32u2 firmware with the hex file from git, but it did not change the behavior. So at this point I'm stuck with an expensive but useless piece of laser-cut particleboard and very angry about it.
Notes and links
When things look like they could be installed two ways, stop and think about it.Double check that you're using the right screw.
Don't over-tighten the screws in the carriages, particularly on the eccentric cam side.
The sanding of the plastic parts is janky. The home switch and actuator is janky.
To communicate with RAMBo at 250000 baud on linux pronterface, apply a patch to pyserial.
Pull request for RepetierMAX build errors on debian wheezy.
The documentation (Rostock MAX Assembly guide, 2nd edition, Version 1.07, June 18th, 2013) did not match the parts I received for mounting the EZStruder extruder. However, I soon after found that the guide had been updated since then and did have the pictures I was looking for.
Photos


Website Copyright © 2004-2024 Jeff Epler