Local coordinate systems in OpenSCAD
Here's a small snippet for setting a local coordinate system. You need to know the location to treat as origin as well as the direction vectors to treat as X and Y.
// Take a position vector (p) and 3 direction vectors (uvw)
// and create a transformation matrix.  The origin is transformed to p,
// and xyz point along uvw.
// Normally, the caller will ensure that uvw are orthogonal unit vectors
function puvw(p, u, v, w) = [
    [u[0], v[0], w[0], p[0]],
    [u[1], v[1], w[1], p[1]],
    [u[2], v[2], w[2], p[2]]];

// Take a position vector (p) and 2 direction vectors (uv) which should be
// orthogonal but need not be unit vectors. Calculate the unit vectors as well
// as the third vector and return the resulting matrix
function puv(p, u, v) =
    let(nu = u / norm(u), nv = v / norm(v), nw = cross(nu, nv))
    puvw(p, nu, nv, nw);

// Operate in a local coordinate system where the origin is the point p,
// x points along u, y points along v, and z points along the normal vector
// to uv. x and y should be orthogonal but need not be unit vectors.
module puv(p, u, v) {
    multmatrix(puv(p, u, v)) children();
}
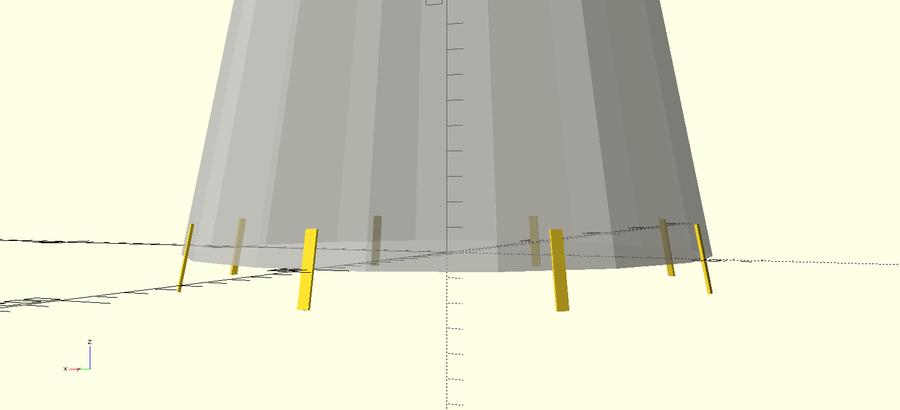
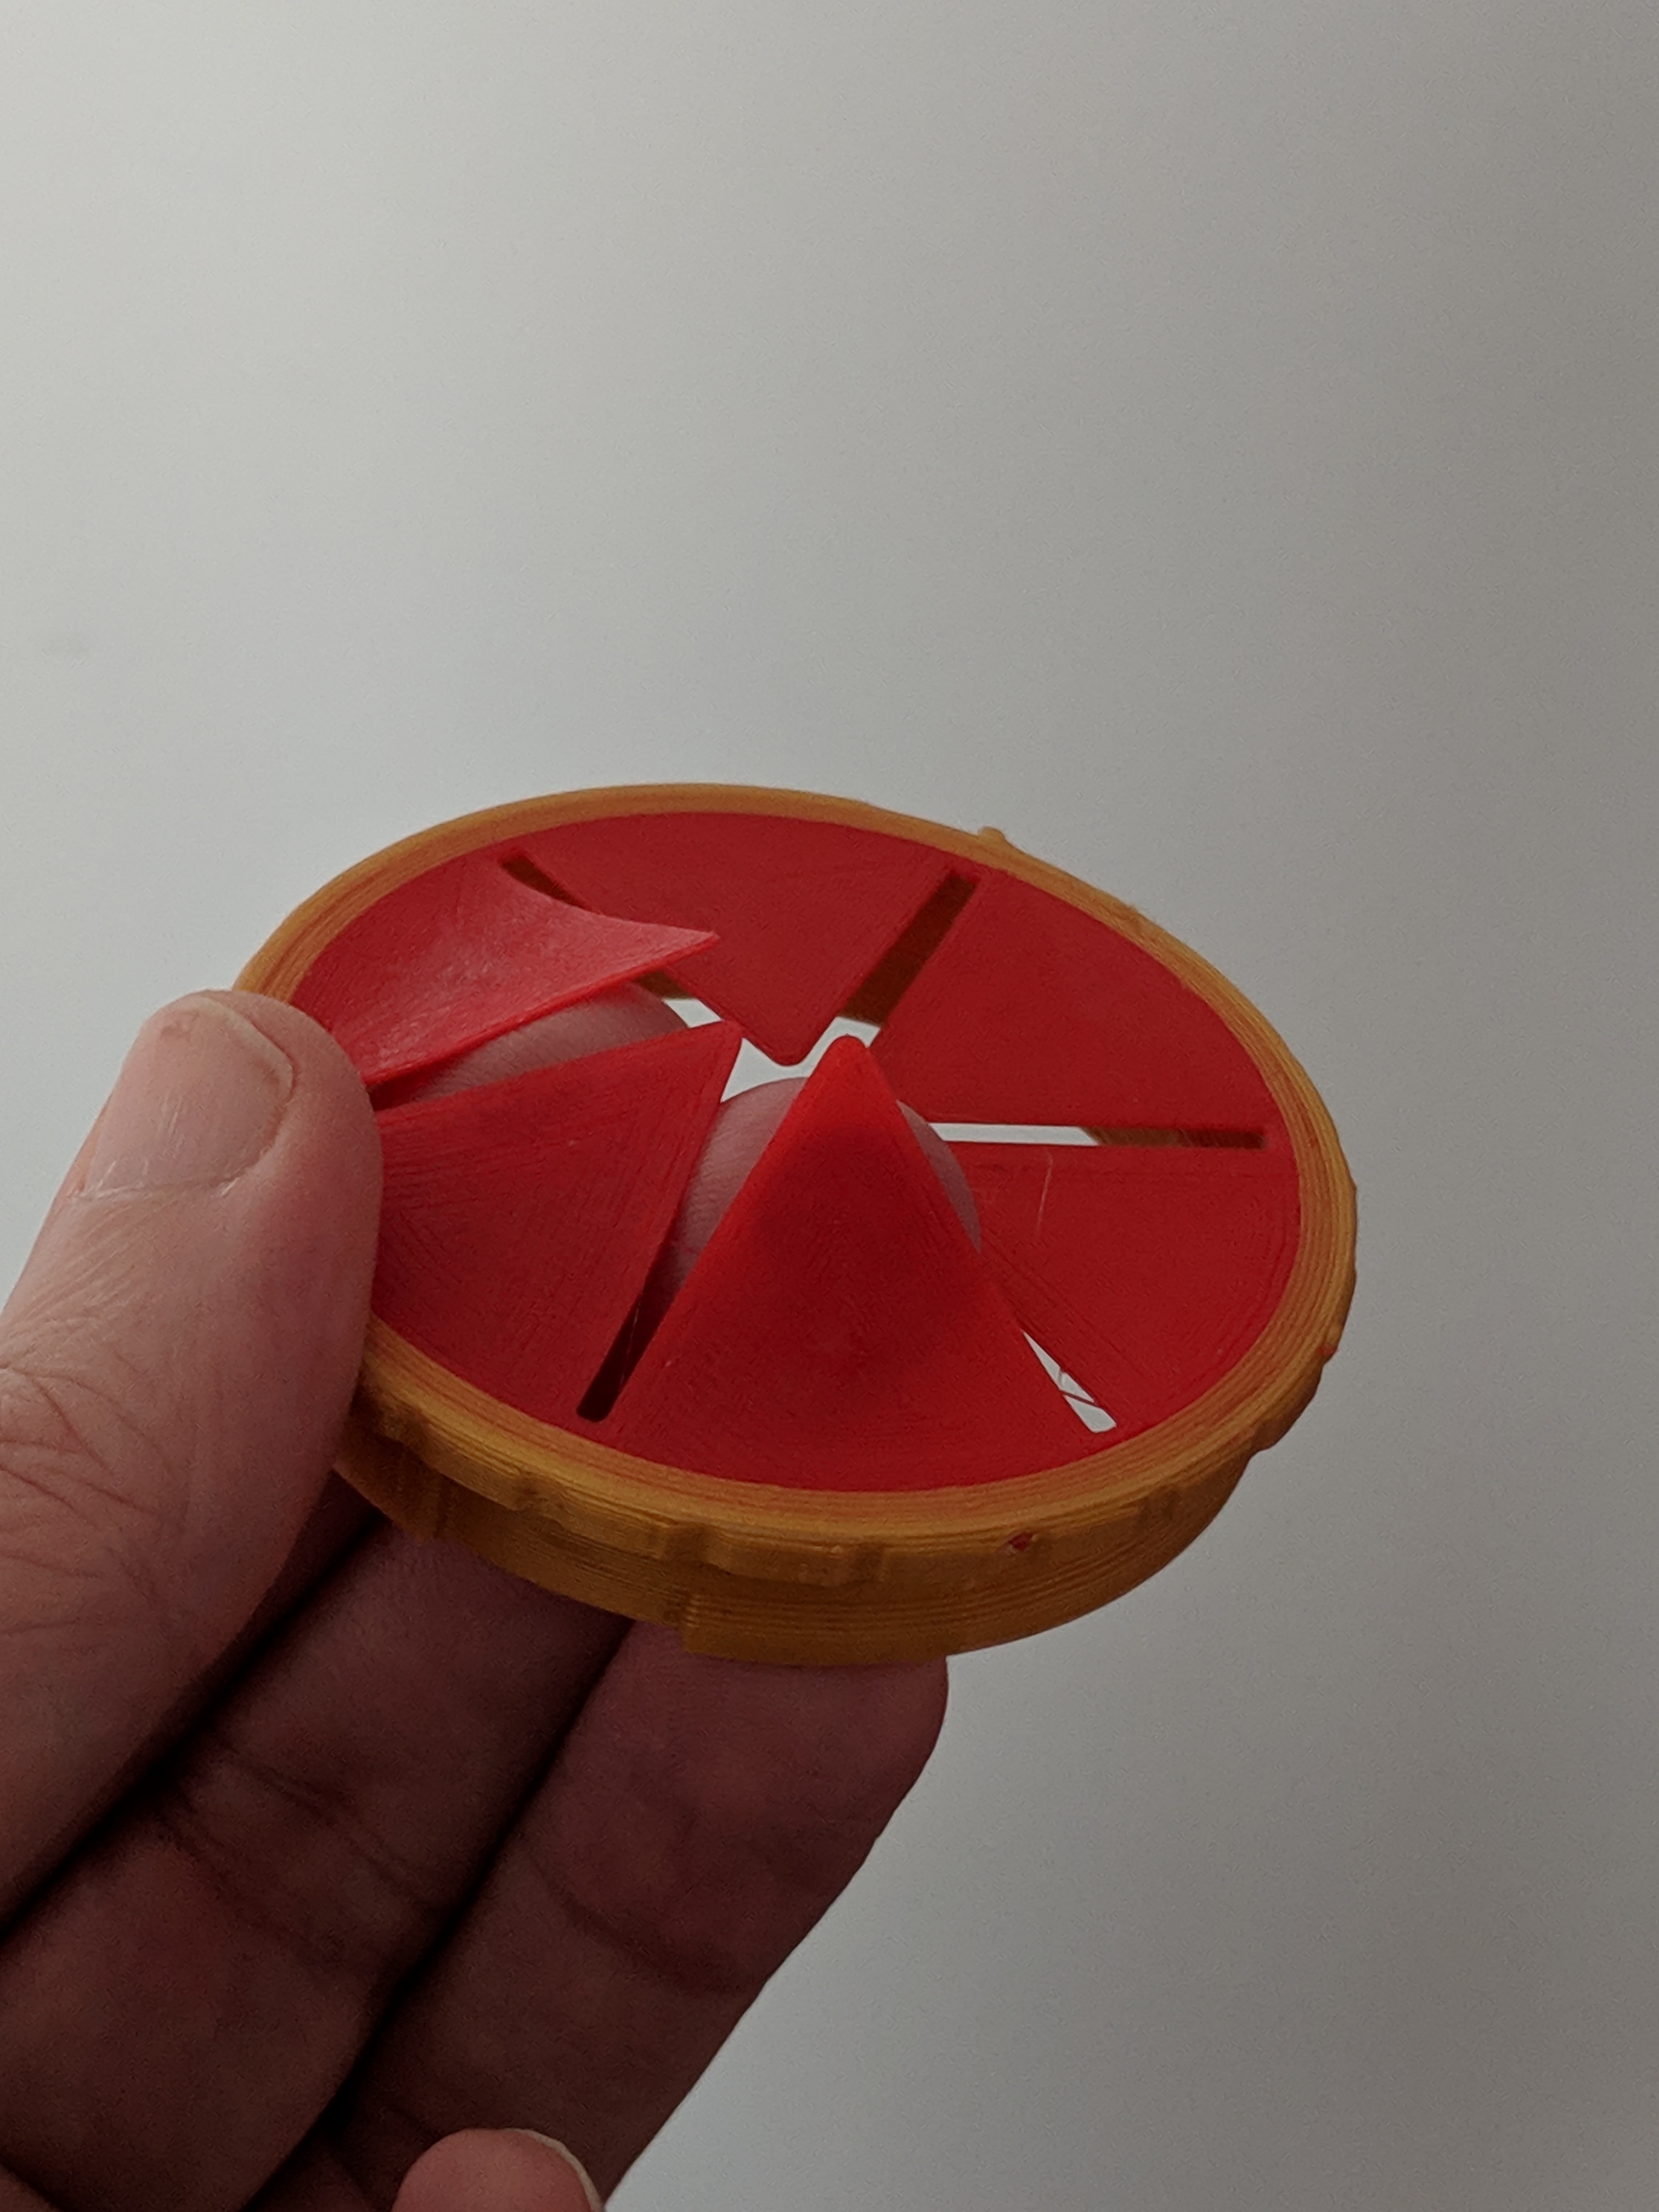
For instance, suppose you want to lay out some feature relative to a cone 100mm in diameter and 500mm tall. It's convenient to set the origin to the intersection of the cone base with the +x axis, +x be the direction from the base of the cone to the tip, +y be the direction tangential to the cone, and +z be the direction 'out' from the cone. You might invoke puv like so (corr is a factor to make the flats of the faceted cone exactly touch the 100mm diameter circle):
effen = 16; // 16, 32, 64, ...
corr = 1 / cos(180/effen);

for(i=[0:45:360]) rotate(i)
puv([100,0,0], [-100, 0, 500], [0, -1, 0])
linear_extrude(height=1)
square([25, 4], center=true);

%rotate(45/4) cylinder(d1=200*corr, d2=0, h=500, $fn=effen);
Cura vs GPX vs dual extruder temperature: A FIX!
I've finally implemented a solution to my woes with dual extruder temperature control in Cura. In any case, I'm now having much more luck with dual extrusion and the temperature graphs that can be seen in octoprint look much more sensible.
The problem, as many have suspected, was Cura and GPX disagreeing on which "T" (hotend "tool") numbers applied to "M104" / "M109" temperature commands.
My best understanding of the problem is this:
Cura thinks that "T#" is modal only when it is the only (first?) thing on a line, while GPX thinks that e.g., "M109 T1 S200" contains a modal "T1".
This causes dual extrusion code to send temperature commands to the wrong nozzle.
This script attempts to work around the problem by tracking which "T#" lines Cura thinks are modal, and then attaching that "T#" again to any M104/M109 lines that would require it.
What seems incomplete about this story is, cura writes extrusions as "E#", which should also be moving the "T#" extruder motor. But GPX doesn't start extruding T0 with the sequence
  T1
  M104 T0 S175
  G1 F1500 E-0.6    ; retract
So something's still missing from the explanation.
The PostProcessingPlugin is released under the terms of the AGPLv3 or higher.
It works with Ultimaker Cura 4.0, but may not work with other software or versions.
On my Linux system it is installed to ~/.local/share/cura/4.0/scripts/fixtempcommands.py but your mileage may vary. The installation of cura scripts seems a bit underdocumented, or at any rate I didn't find the documentation. The location is under one of the two folders opened when you "Help > Show Configuration Folder"
Having done so, simply enable the script to post-process your gcode in "Extensions > Post Processing > Modify G-Code". Just choose the script from the "Add a script" dropdown.
Files currently attached to this page:
| fixtempcommands.py | 2.2kB |
Another Qidi Tech I update
I've made some upgrades on my Qidi printer:
- Added a borosilicate glass bed (random amazon seller)
- Upgraded to Micro Swiss MK10 All Metal Hotend
In the process of installing the new hotend, I had to align my extruders, something I had been dreading. Well, I should have done this a long time ago, because now all my problems with the left nozzle scraping over the part printed by the right nozzle are (knock on wood!) cured.
I haven't noticed a huge difference with the all-metal hotend, but hopefully the new nozzles will also have a long lifetime. The advantages are supposed to be reduced stringing (which I have noticed) and improved extrusion rates (I haven't touched my current extrusion / feed rates which were working with the original PTFE-lined hotends)
The glass bed is pretty good. I have a shim installed so that I didn't have to use the bed leveling adjustment to take up the ~3mm difference in Z. This means I gave up 3mm of Z travel instead, but that's not a big deal.
Glass is a lot less forgiving of bad bed leveling, so it took awhile to get that dialed in. (It doesn't help that the adjustment screws defy my intution every time about which direction of rotation moves the bed up!). With PLA, I am using a "60°C" bed temperature and with ABS I'm using "110°C". It's worth nothing that the top surface of the glass is much slower to actually reach its terminal temperatuer than the sensor, so pre-heating is recommended. I believe the terminal temperature of the top glass surface is also lower than the top of the aluminum, so you may need to tweak things a bit.
For adhesive, I'm using gluestick on glass for most things, and ABS juice on glass for ABS. Prints tend to be tough to remove, so maybe I need to keep experimenting.
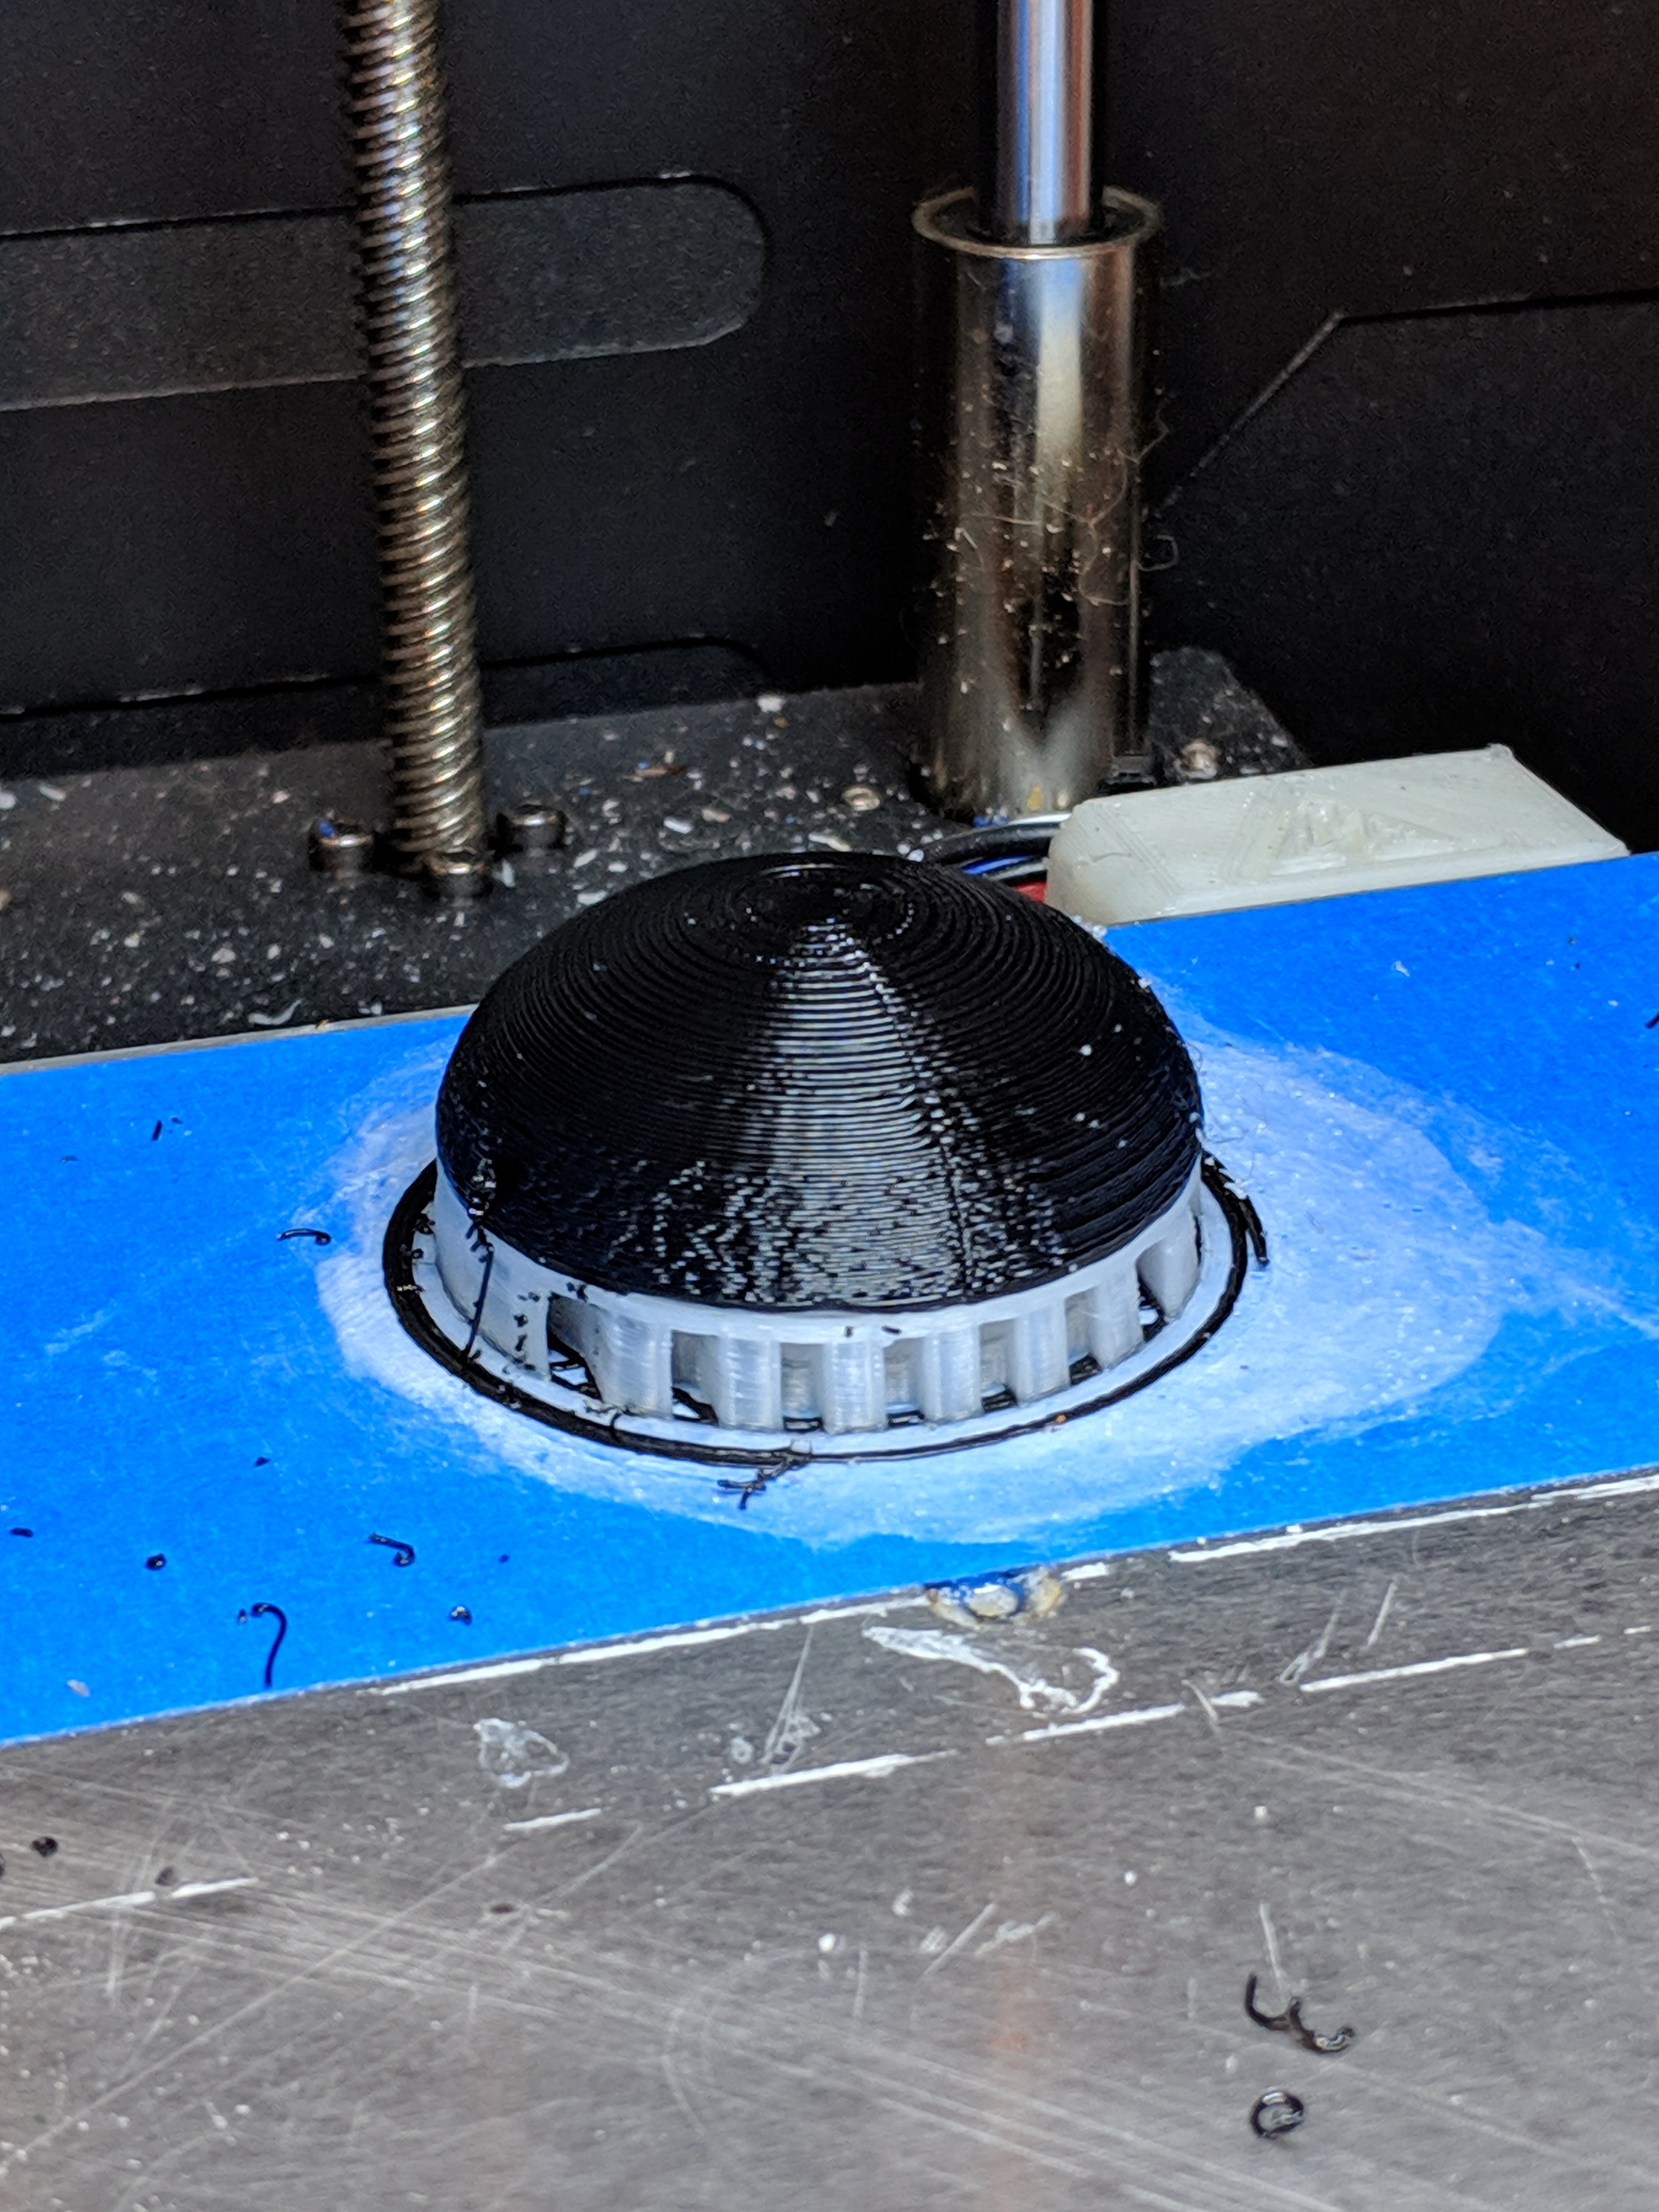
As far as dual extrusion goes, I continue to be vexed by an apparent Cura (but maybe GPX) bug with temperature setting: It appears that Cura omits T-numbers for some temperature commands, and something in the Cura -> GPX -> Qidi toolchain applies a temperature command to the wrong hotend. Since Cura works hard to set nozzles back to a lower temperature when not in use, this can instead cause the right extruder (typically) to get set to a low temperature and then used for extruding, which can cause jams, failed prints, and delamination..
Qidi Tech I
I bought this 3D printer in the fall of 2017, though they were already calling it the "2018" model. It's a fully enclosed, dual hotend printer which is a knockoff of the Flashforge, which in turn is a knockoff of the Makerbot.
Initially, I didn't blog about this printer because I was kinda disappointed with it. It takes up a lot more desk space, spools are a pain to mount and unmount, and I initially didn't have much luck with larger prints, ABS adhesion, or dual material printing, which were three major things that I had hoped to do with the printer.
More recently I started pretty obsessively reading about the Genuine Prusa i3 MK3 with MMU2, and trying to justify the purchase. In the process, I had to admit to myself that maybe I needed to give those three major bullet points another try, either to satisfy myself that it couldn't be done, or to finally meet my goals.
Happily, I think I met my goals, and I feel much happier about this printer than I ever did in the first year of owning it. And as a bonus, I am also successfully printing flex filament on it!
First, I had found that the Z height of the two nozzles never quite matched. I was very reluctant to mess with their alignment, because it is supposed to be set at the factory. However, I eventually discovered that it was my own problem all along: I had failed to fully tighten one of the screws which attaches the hotend assembly to the X carriage, which accounted for at least 90% of the Z height mismatch of the two nozzles. I still have minor problems in vase mode if the unused nozzle brushes the print in progress, so things aren't perfect, but they're really quite a lot better.
Second, I went through the bed leveling process by using the "look at filament after it's been laid down" method, instead of the "try putting a sheet of paper under the nozzle" method. I had the nozzles way too close to the bed, and now my first layer problems were resolved. At this point, PLA and PETG both printed marvelously.
I took a detour from using Cura to Slicer PE (part of the obsessive googling about Prusa I3) and learned a few tricks, such as making the first layer line width substantially wider for better adhesion; and had some modest success with dual extrusion printing. When I returned to Cura, I found I could apply these ideas. With respect to dual extrusion printing, I found that turning OFF a bunch of Cura features gave me better results: There's no need for a priming tower when you have two hotends (vs the prusa style with multiple extruders and a single hotend), and eliminating or reducing the temperature changes for the "not currently used" nozzle actually reduced stray wisps of filament. HOWEVER, when you do this it's important that the layer time not be too long, and that both filaments are used throughout the print, so that heat creep doesn't have a chance to clog a nozzle. I did in fact get a clog this way, but fixed it easily by replacing the PTFE lining. (and, contrary to my fears, this seems to have left the Z alignment of the two nozzles just as good as before. So now I have some Micro Swiss replacement nozzles on order, because I think these are pretty worn by now)
I have also had good luck simply using different material types as support materials (e.g., PLA for PETG and ABS, and PETG for PLA), for manual (solvent-free) removal.
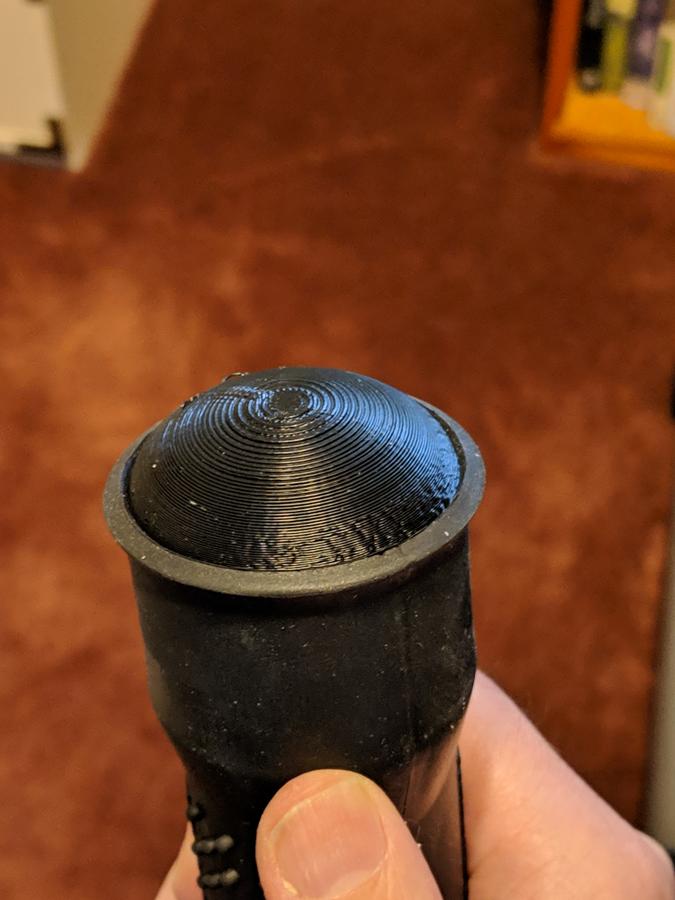
Finally, I printed a couple of parts for the extruders that claimed to improve printing of flexible filament. While I hadn't tried any before, I've had some luck printing with a roll of what I think is TPU (and also one non-serious jam). This includes printing a combined PLA-TPU object.
I've just started dabbling with ABS Juice as a bed adhesive, but after a couple of prints I realize I need to switch to Kapton or glass to use it, if I don't want painter's tape permanently embedded in my prints. It has given a couple of ABS prints with perfect first layer adhesion that I would not have had without it, though.
Is this a great printer? Arguably, no, you shouldn't have to do a year of fiddling with a printer before you can get great prints and use all its capabilities. Am I feeling better about this printer than ever before? Yes, I feel like I've leveled up in terms of successful printing with it.


All older entries
Website Copyright © 2004-2024 Jeff Epler